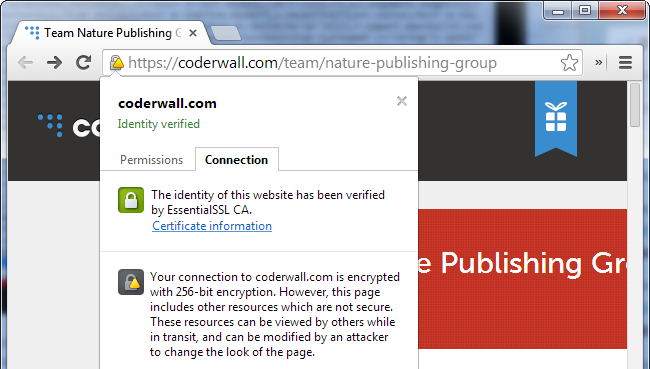
[vc_row][vc_column][vc_column_text]Nowadays it is essential that your site be secured with an SSL certificate. All of the major search engines are starting to penalize sites in SEO ranking if they see the site is responding in plain old HTTP. Even worse, almost all of the major browsers now actually announce to the user that your site is insecure. To remedy this issue you will need to perform the following WordPress HTTP to HTTPS steps. Google Chrome displays and very noticeable and “Circle-Exclamation Not Secure” message right next to the address of the site as shown below:

Think about how many people see a message like that and immediately close the tab your site is in and never return. That, my friends, is what we call a bounce rate and if your site has a high one, you now know why.
Furthermore, if you’re running an eCommerce site, it’s a MUST that your site be secured with an SSL certificate. Most credit card gateways require it and it’s like THE first step in meeting PCI compliance .
So today I’m going to take you through the steps in making your WordPress and/or Woocommerce site secured using an SSL certificate.
Now I’m going to assume that you have already purchased an SSL certificate and installed it on your server. Almost all hosting companies out there (including us) can get you an SSL certificate or you can purchase one from a broker.
ENOUGH TALK ALREADY, LET’S DO THIS!!!
Perform a backup of your site
First and foremost, you need to backup your site as we will be changing settings and altering content. As the old saying goes… “There are those that backup, and then there are those that learn why we backup”
To do a backup, there is no better plugin than “All-in-One WP Migration” by ServMark.
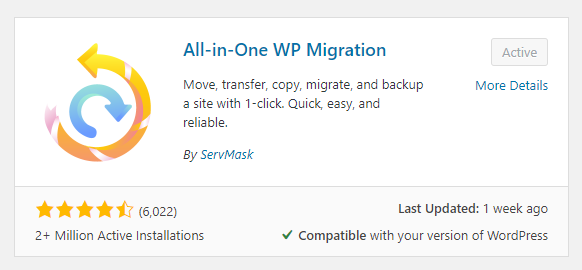
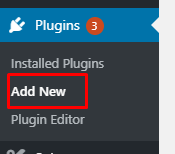
If you don’t have this plugin installed, you can do so by going to Plugins -> Add New on the Admin Menu.
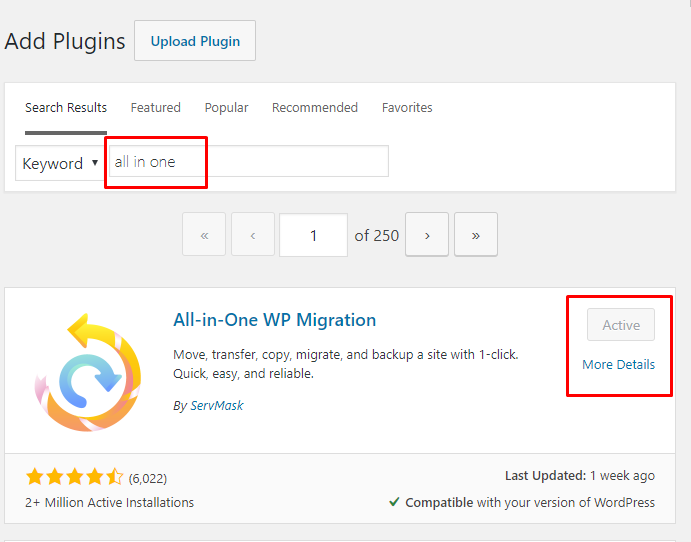
Do a search for “all in one” and click the “Install Now” button and then “Activate” to activate it.
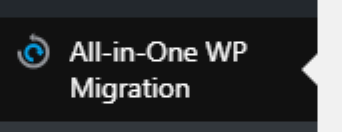
Next we have to actually perform the backup. On the Admin Menu, click the “All-in-One WP Migration” link.
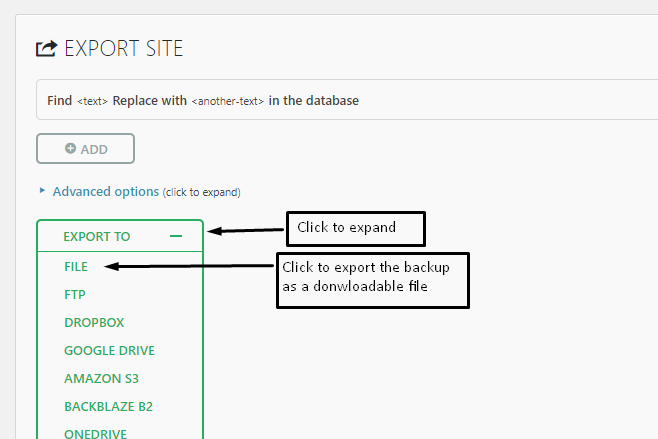
On the “Export Site” screen, click on the “Export To” menu to expand it and click the “FILE” option.
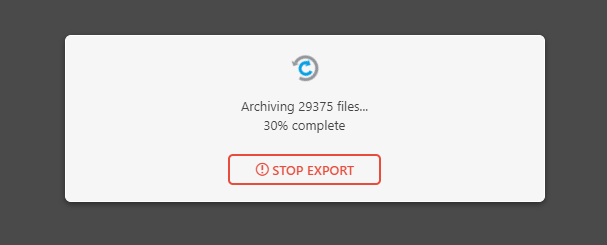
The backup will start. Be patient as it could take some time.
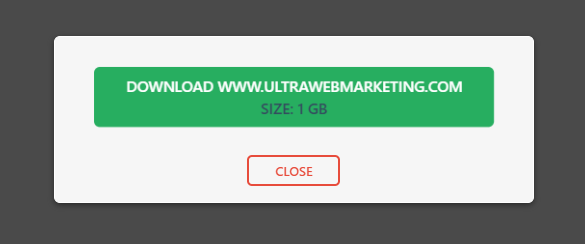
Once the backup is finished, click the “Download” link to download the backup to your drive
Changing the Address of Your Site in General Settings
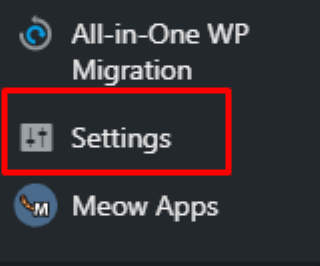
The next thing is we have to do is update both the “WordPress Address (URL)” and the “Site Address (URL)” in General Settings. On the Admin Menu click the “Settings” link.
Update the “WordPress Address (URL)” and the “Site Address (URL)” to “https” and click the “Save Changes” button.


After, visit the HTTPS version of your site and HOPEFULLY you see that “lock” icon next in the address bar of the browser next to your site’s address.

Once you have visited your site and have verified that “lock” icon appears, the next thing is to force all HTTP traffic to your new HTTPS site. Although there are plugins like “Really Simple SSL” that can do this at the WordPress level, we highly recommend that you DO NOT do this. Let’s be honest, plugins can break and the last thing you want is for your SSL redirect plugin to go nuts and Google’s starts crawling the HTTP version of your site. That is a SEO disaster waiting to happen. Though this an option (a temporary one at best), the better way is to actual do it at the server level.
Now depending on your skill level and access to the server you might need to contact your WordPress hosting company for help with the next steps.
If you’re using Apache as a web server you can edit your “.htaccess” file and adding the following lines TO THE TOP of file:
RewriteEngine On
RewriteCond %{HTTPS} off
RewriteRule ^(.*)$ https://%{HTTP_HOST}%{REQUEST_URI} [L,R=301]
NOTE: If you ever looked at the htaccess file that WordPress writes out, it puts in it’s own rewrite rules in a “BEGIN WordPress” block. Do not put anything in that block as it can and will be overwritten.
When things go wrong – Mixed Content
Yep… you thought this would be easy. You’re not seeing the lock icon in the address bar, instead you see a mixed content warning which is a padlock with a yellow triangle on it:
What is mixed content you might ask? Mixed content is where your site is serving content to user from both HTTP and HTTPS. Wait a minute… didn’t we just HTTPSed our site, how could this be? Well, if you’re like many people, you use a variety of libraries from third parties (jQuery, Google ads, Fontawesome ) that could be served over HTTP. Those links don’t get updated when you convert your site over, so you have to hunt them down and change them manually when performing your WordPress HTTP to HTTPS migration.
Edit your Theme
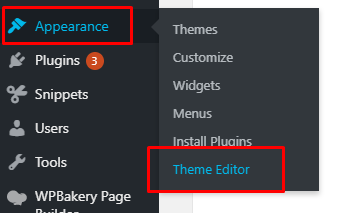
Chances are that those javascript libraries are being called in your theme’s header or footer. First thing to do is to open up the “Theme Editor” by over the “Appearance” link in the Admin Menu and selecting the “Theme Editor” link.
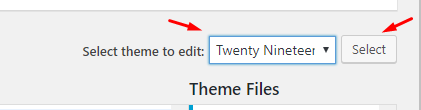
Once the Theme Editor opens, you need to select your theme from the right drop down menu and click “Select”, if it isn’t already selected (chances are that it is, but just in case it isn’t, this is how you do it)
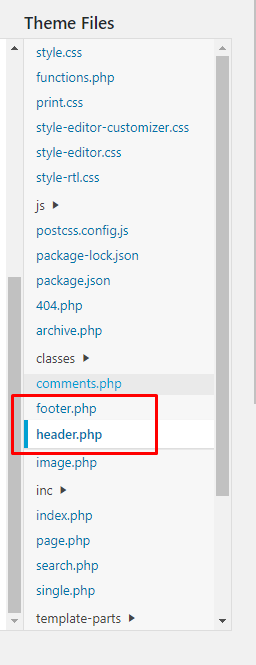
In the files listing on the right, select the “header.php” and look for anything that has a “http://” prefix and update it to “https://”, click the “Update File” button when done. Do the same for the footer.php.
Once you’re done, visit the homepage of your site and see if you now see the “lock” icon in your address bar.
Editing your Site Pages
Although we fixed the links in our theme’s header and footer, we may still see the mixed content warning on individual pages of our site. When doing your WordPress HTTP to HTTPS a good rule of thumb is to just visit every page on your site and make sure that it doesn’t have Mixed content. While this sounds impossible, it really is just very time consuming. The best way to check your site, is to click the “Pages” link in the Admin Menu.

Just hover over each page listing and when the context menu appears, hold Control and left click the “View” link, this will open it up in a new window allowing you to open multiple pages at once.

If you see any pages that show the Mixed Content warning, you can now click on the “Edit Page” link at the top of the screen to edit the page and correct the links that are causing the mixed content.

Conclusion
Congratulations!!! Your site should now be completely secured with an SSL cert and serving content over HTTPS. This is but the first step though as there are now other things to do like updating your site maps and any external services to point to your new website. As you know, UltraWeb Marketing will take care of your WordPress HTTP to HTTPS when you host your WordPress site with us.
WordPress HTTP to HTTPS
[/vc_column_text][/vc_column][/vc_row]